Navigate to our LynxChain Testnet monitor, there you will be able to view the network status in real time, create an account, access the faucet, and view our API. This is the main resource for our Testnet environment which acts like a mirror to Mainnet.
View Testnet Monitor
Click “Create Keypair” button located at the top left of the page, copy and save both public and private key. This step is crucial, the keys generated will be privately linked to your account and if lost we have no database to help recover them for you.

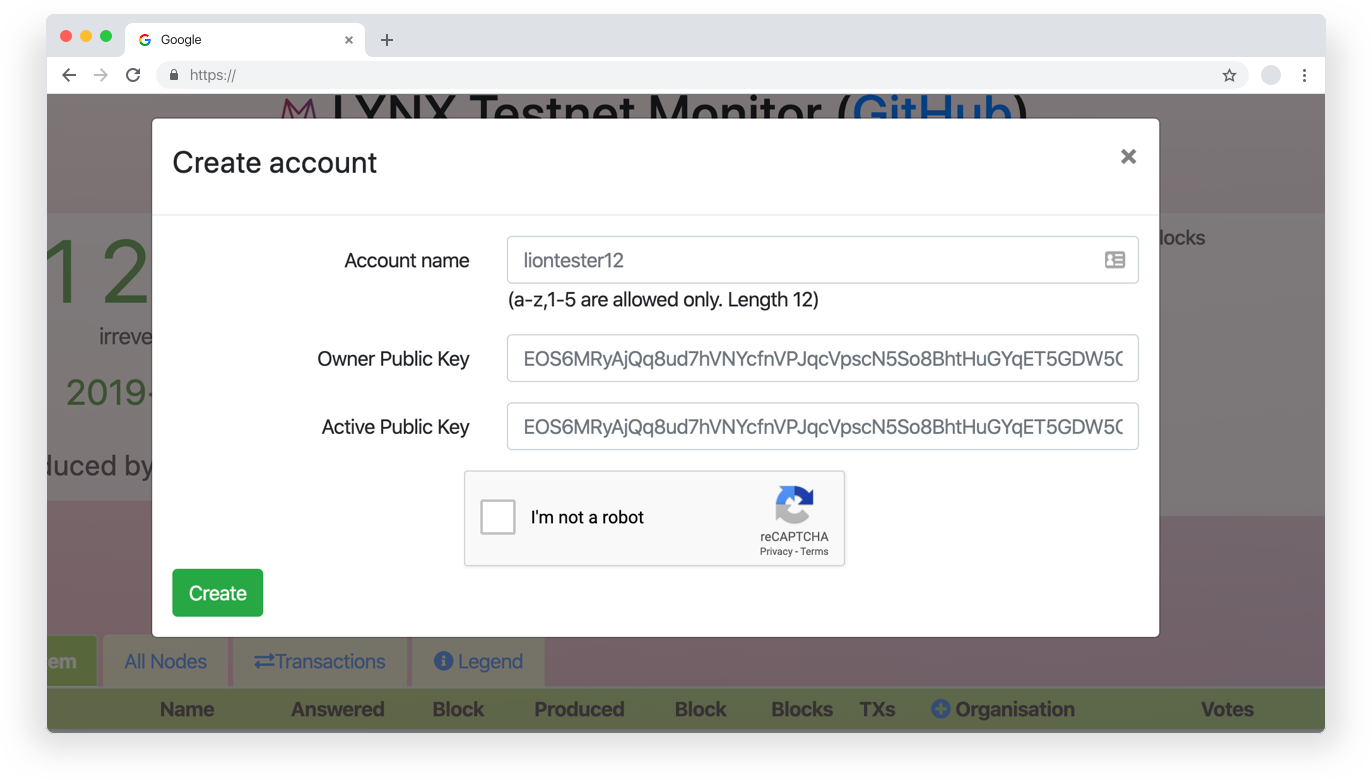
Click “Create Account” at the top left of the page, enter an account name, submit your previously saved public key in both Owner and Active Public Key field, select dApp account, complete the captcha, and hit create.
When running this command in cleos you will need to replace "youraccount" with the dapps Testnet account name.
cleos -u https://testnet.lynxchain.io push action eosio.lynx dappreg '["youraccount"]' -p youraccount

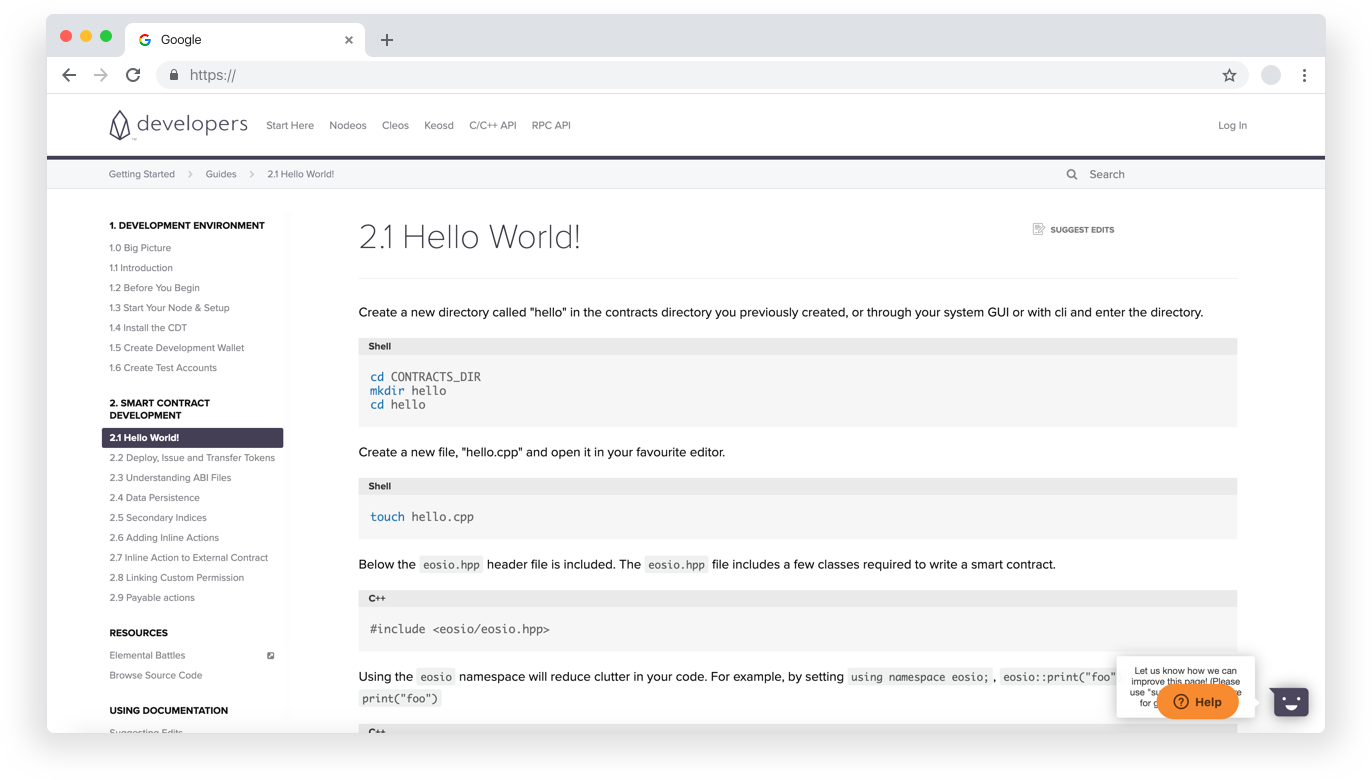
Now that you have your Testnet account, your contracts permissions set, finally deploy it using cleos. For any questions or concerns on how to deploy a contract please visit the EOSIO developer site.
EOSIO Developer Site